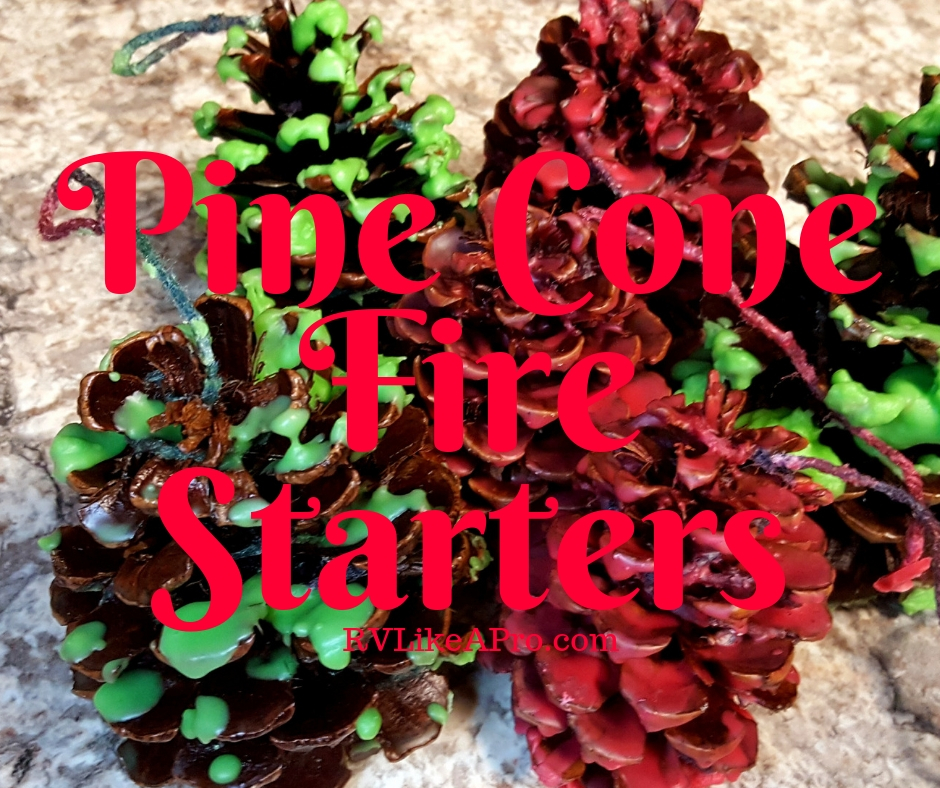
Pine Cone Fire Starters
OK. I know this isn’t exactly a camping article but aren’t these fire starters cute?! And who can’t use a fire starter while they are camping? They are so handy! These pine cone fire starters are so easy to make too! Our daughter loves to do crafts and learn to make new things so we are making these together for Christmas presents this year.
Materials Needed:
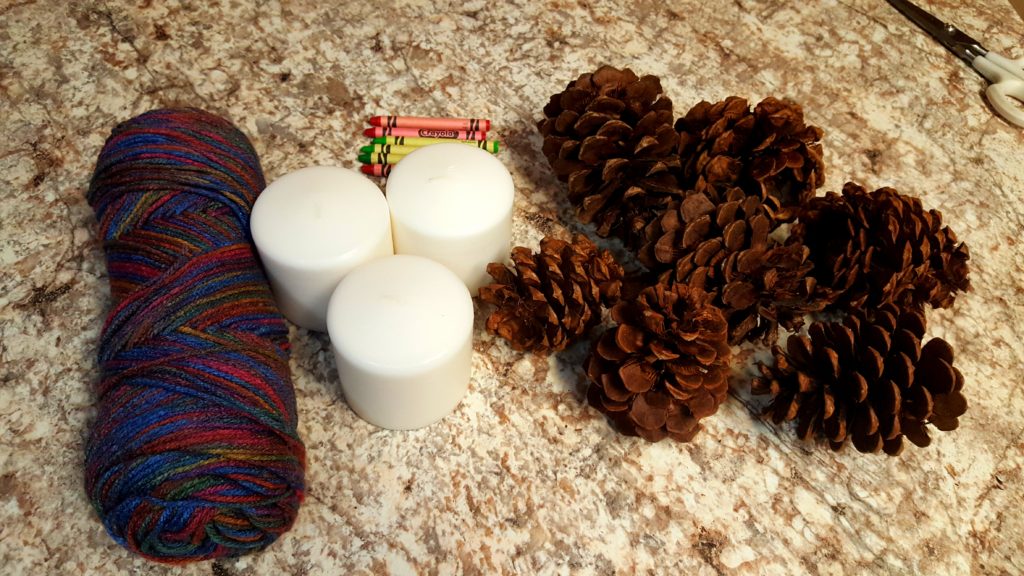
- Pine cones
- Wax – I bought cheap candles at the craft store.
- Crayons – if you would like to make colored fire starters.
- String – I used yarn.
- Wax Paper on a cookie sheet
- Double boiler (or whatever you use that works)
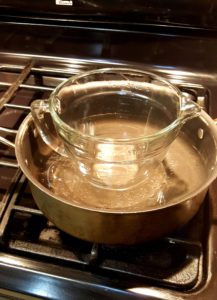
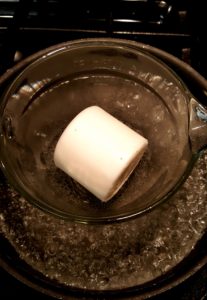
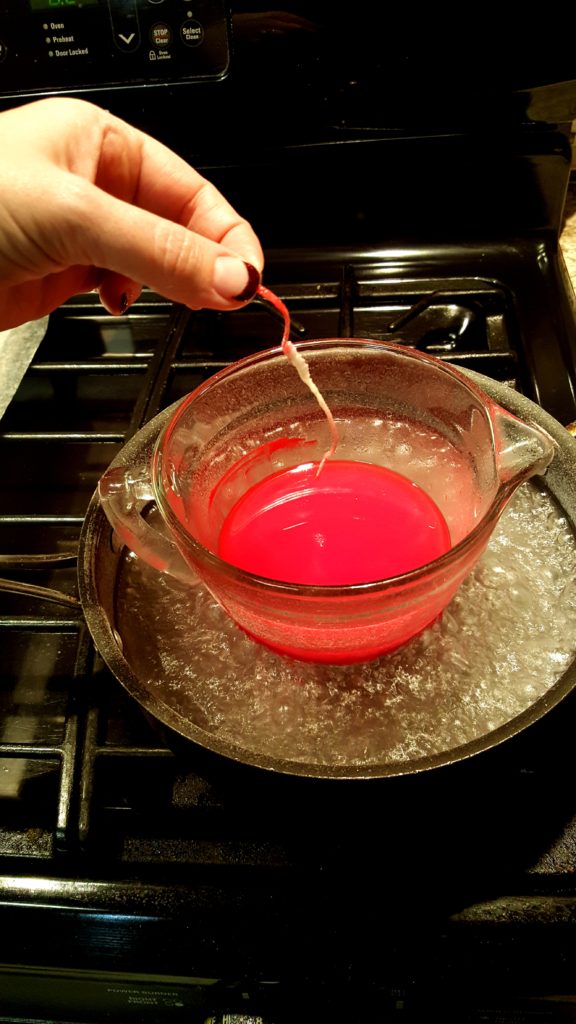
1. Start heating the wax.
This can take a while so you might as well get it going. I just filled a pan with water and put my large measuring cup in the middle. The candle is put in the measuring cup. It took around 15 – 20 minutes to melt the candle completely. Remember to keep checking your water level. I did have to add water a few times before the candle was completely melted. Also, don’t forget to remove the candle string once the candle is melted.
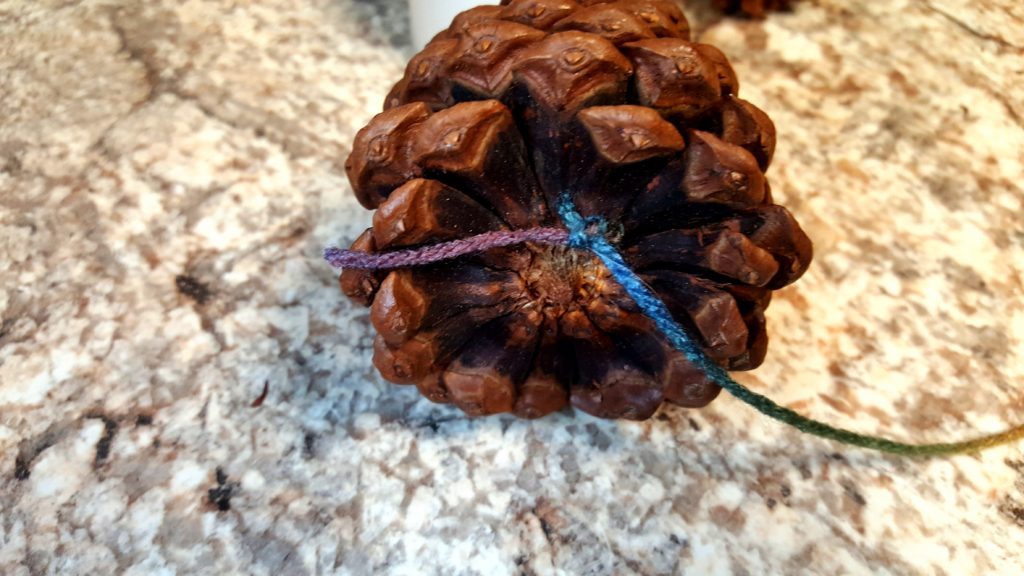
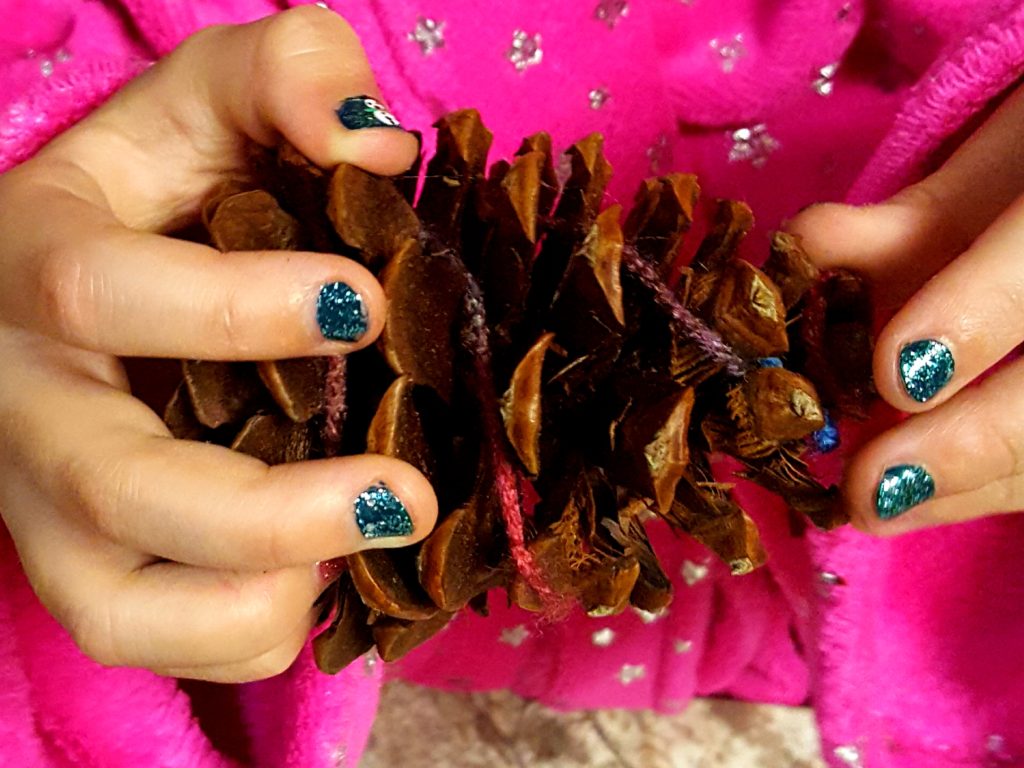
2. Tie string around pine cone.
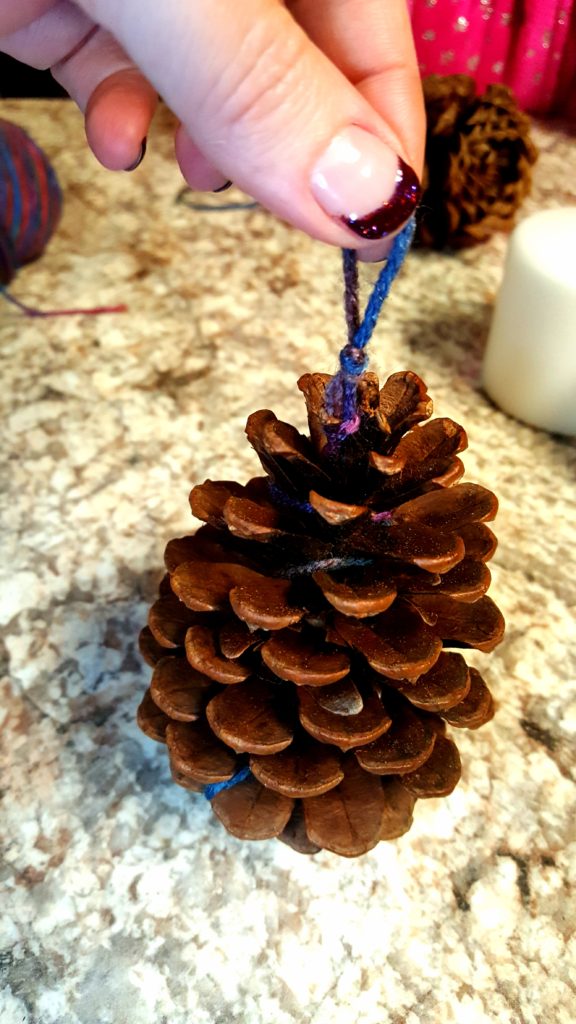
To tie the string around the pine cone we cut a length of yarn about 2 – 3 feet long. Then, we tied the yarn to a cone scale at the bottom and wrapped the yarn around the pine cone working our way to the top. We then tied one last knot with a loop at the top.
3. Add color to the wax (if desired).
Since Abby is going to be turning these into Christmas gifts, we decided to make red and green pine cone fire starters. To color the wax, take the paper off of two crayons in the color that you would like the fire starters to be, and drop it into the wax. Easy. I did find it was easier to let the candle completely melt and then add the crayon. That way you can see how much of the candle is left to melt.
4. Time to dip the pine cones!
This part is super easy. Just hold on to the string and dip the pine cone into the wax. Then move it to the wax paper.

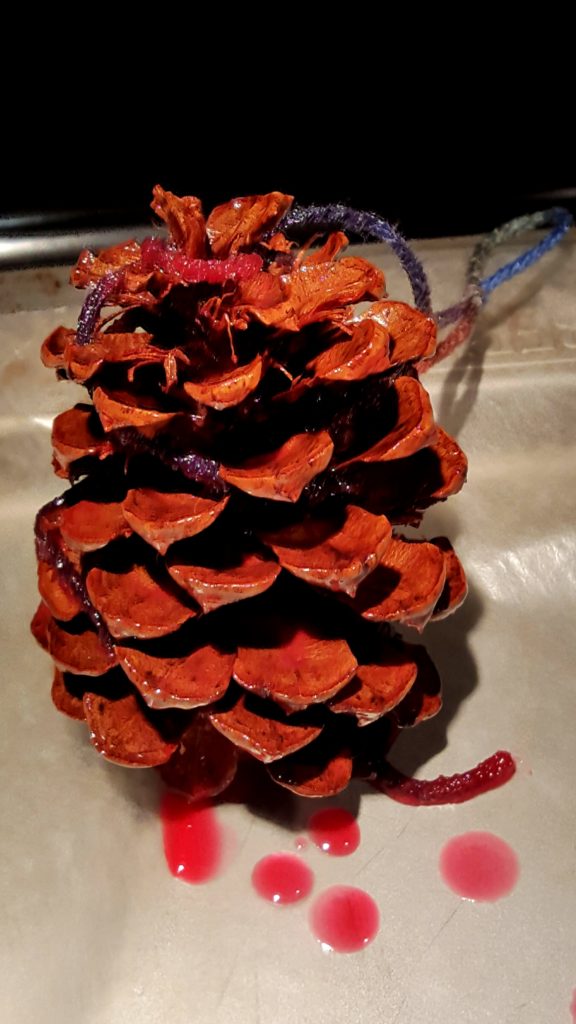
Now, let the wax cool and dip it again!
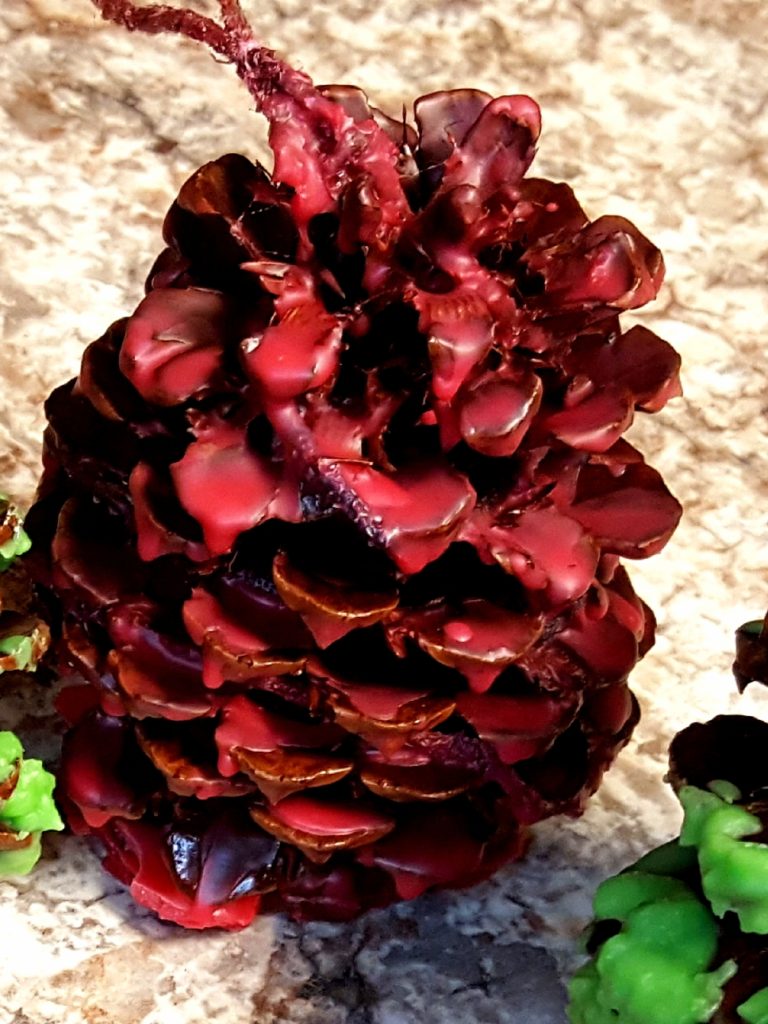
5. Final touches.
We tried to different approaches for the final coat of wax. For the red pine cones we poured the last of the wax over the top of them while they were on the wax paper.
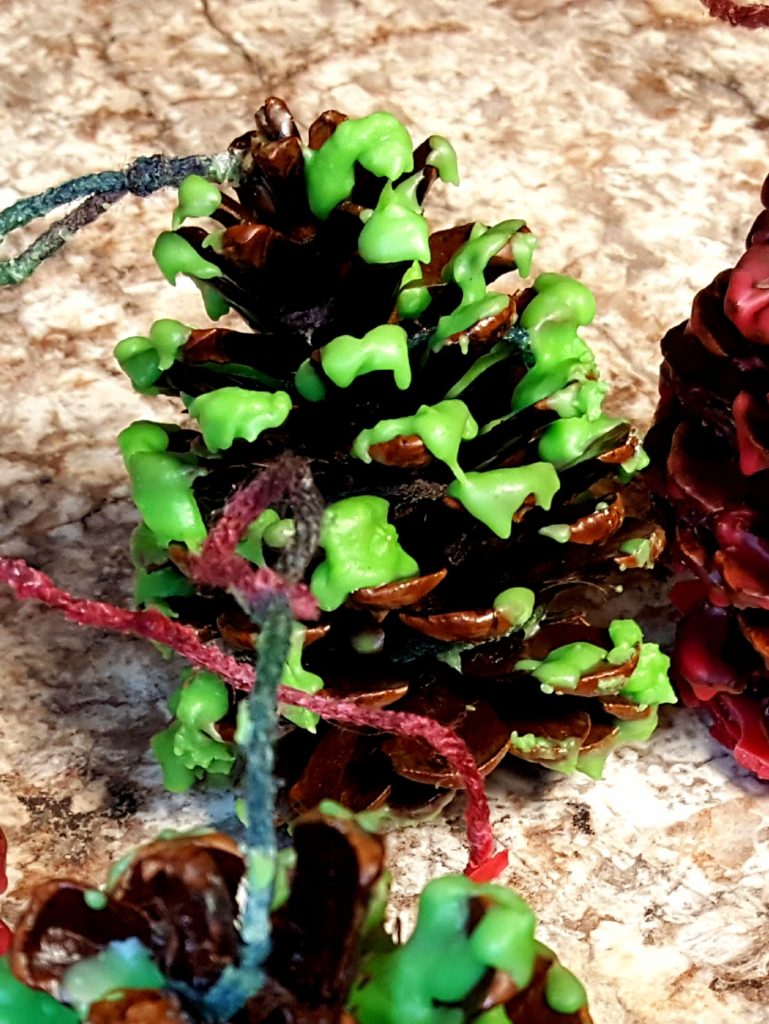
For the green pine cones we used a spoon to scoop a cooler (thicker) wax onto the top of them.
I honestly like them both.
Which to you like better, red or green?
Happy Camping!


28 Comments
Jocelyn
Fun and creative and practical! My kids would love using these when we go camping next. We’ll have to give them a try!
Terri
What a great project! I like the red, but wonder if spooning white over the green would have looked like snow!
Nicki
Maybe. I’ll try that next time!
Holly Bird
What a great idea! I think this could be a great craft for doing right in the woods while camping, heat the wax over an open fire, what a fun thing to do!!
Katie
I’ve never used these, is the purpose of the wax to make them burn slower? I though pinecones caught pretty well on their own?
Nicki
Yes. It gives the wood a longer chance to start on fire.
Melissa Parcel
I totally remember making these as a kid in my Camp Fire Girls group. Would be a fun craft to do with kids.
Katie Mitchell
Great idea! These would come in handy for us right now with the cooler weather moving in.
Lisa
What a unique and practical idea! I’m not much on camping, but this would be a great craft to do with kids and would definitely make a cool Christmas present.
Janice
Those look really cool.
Lauri
What a fun project, my kids would have loved this. I’m going to keep it in mind for the future little ones in our family. Thanks!
Rachel Newlon
I love this! So easy and a great gift!
Cameron
How fun – I love this idea to do with kids – I’m definitely going to remember it!
Robin
These are amazing and look so pretty! Thanks for sharing 🙂
Susan Franklin
This looks like a really neat craft and fun to make, especially as a gift for campers. I’m not much of a camper – so I’m intrigued that wax over the pine cone would actually help start the fire?
Tricia Snow
What a fun idea! Thank you!
Jennifer Morrison
This is so cool! We are going to have make these for our fire starters this year! It will be fun to make, and fun to burn!
Flor
This is so fun! I didn’t know you could do colored fire like this! I’ll definitely try it
Shelly
How cool! I love this idea. Definitely going to try it the next time we go camping.
Laura
Oh! How pretty! I’ll have to try this! Thanks for the great idea!
Brianna
What a fun project. We are going to make these for our summer fires!
Kathryn at QuestFor47
That looks like such a fun project! Definitely something to do with the family.
Rosanna
This brings back some lovely memories. Growing up in Colorado and spending lots of time at my grandparents cabin, with a wood burning stove and fireplace we had lots of fires. We collected the pinecones and made these firestarters with my Granny.
Deanna
So cool. I love any crafts that integrate nature and found materials.
Bola
This looks super creative. Thanks for sharing
T.M. Brown
I have a vague memory of these from Girl Scouts. Needless to say, what a great craft and practical tip for camping!
Dennis
Brilliant!
Kirsten
Love this! I will have to try this activity!!