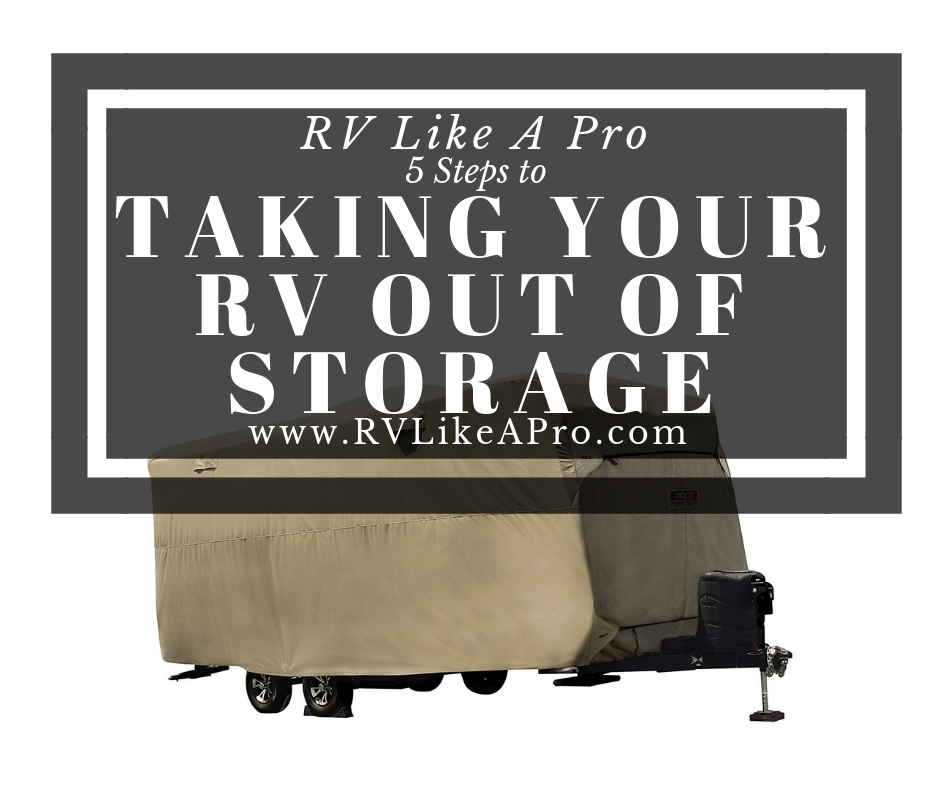
5 Steps to Taking your RV out of Storage
Thinking about getting your RV out of storage? Here are 5 things you can do to make your life easier while getting your RV out of storage and ready for the camping season.
Before we get started it is important to note that some of the links below may be affiliate links. This means that at no cost to you we may earn a commission if you click through and make a purchase. This is how sites like ours pay to “keep the lights on”.
1. Ready the Battery
The first step in taking your RV out of storage is to ready the battery that hopefully you took out in the fall. Some systems in some RVs require a battery to operate. Other campers will allow you to just plug in your charge line and operate your jacks, slides, and lights while plugged in to the tow vehicle.
If you have not had the battery on a trickle charger all off-season, just put the battery on the charger let it charge overnight.
If the battery does not charge it may be time to replace your battery. For more information please view our article on batteries.
Bring and install your freshly charged battery with when you pick up your camper from storage.
If your camper has been sitting in a location that you can plug it in to 110 power you can install your battery and the converter will charge your battery.
Note: your tow vehicle will also have a charge line that will charge your battery/operate jacks and slides.
2. Remove the Cover
If you choose to put a cover on your RV you need to remove it. Never tow your camper with a cover on it. The wind will cause the cover to become a kite and also beat the cover back and forth scratching the sides of your camper.
3. Check the Tires
I always suggest bringing an air compressor or air tank along when picking up an RV after storing for a while, just in case the tires are low.
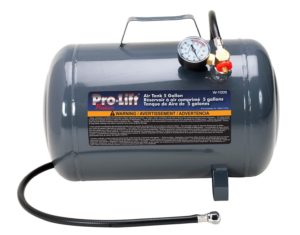
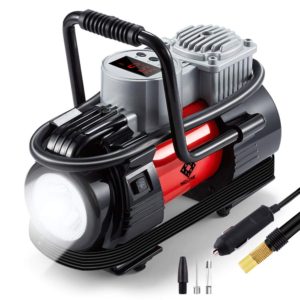
Check your tires air pressure to be sure you are not dragging your camper home on the low or flat tires.
4. Bring the RV home and plug it in.
Once the camper is home plug it in before running the stabilizer jacks or slide rooms. While an RV is plugged in to “shore power” (a 110 outlet with your power cord) you will have a little more voltage available and the electric stabilizer jacks and slide rooms will operate a little quicker and smoother.
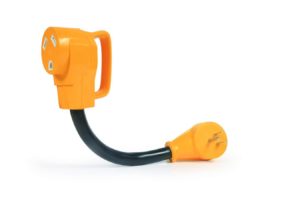
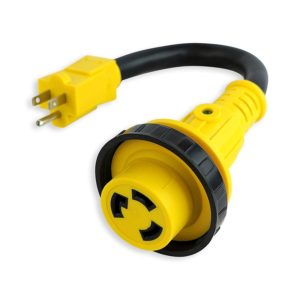
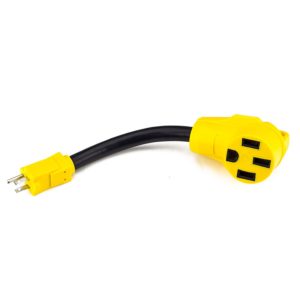
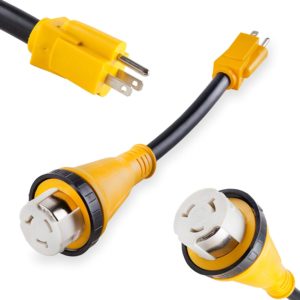
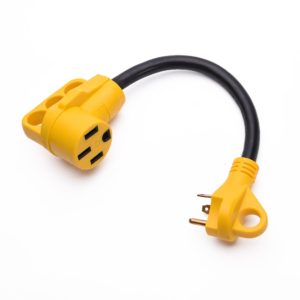
A note about plugging your camper in to your house. Most houses have 15 amp service. Your camper will have 30 or 50 amp service. To plug your camper in to your house you will need an adapter (see below) that will allow a conversion of 30 or 50 amp to 15 amp.
5. Inspect the RV.
Before you begin loading your camper for summer take the time to inspect it inside and out.
Inside
- The first thing I recommend is to open up all the cupboards to check for any water damage and any sign of mice or other intruders.
- Inspect the ceiling for water damage. Look along the roof line for any staining or damp spots.
- Inspect near the slide rooms for water damage.
- Inspect the entire interior for any issues that may have developed during the off season (raccoons, a red squirrel that has chewed through the roof vent and made a home inside the freezer, split water lines or faucets, cracked vinyl flooring, etc.).
- It is common for the water valve on the back side of an RV toilet to split. Make sure behind the toilet is dry.
Now is also a great time to remove and clean your bedding and do a deep clean of the RV before the season begins. This deep clean will also help you spot any issues that may have developed during the off season (you may even find that missing sweatshirt or pair of shoes that you looked for all winter).
Outside
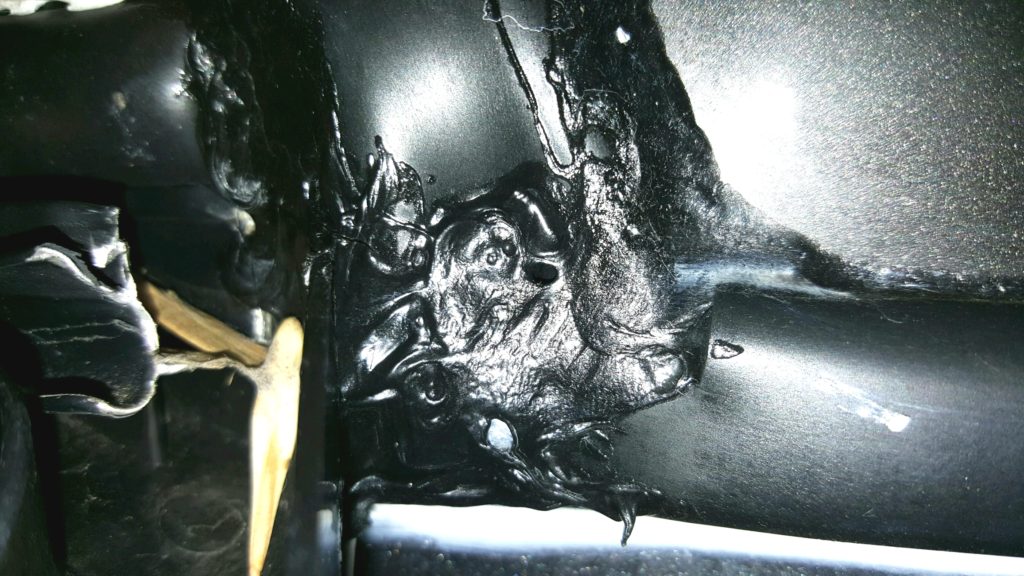
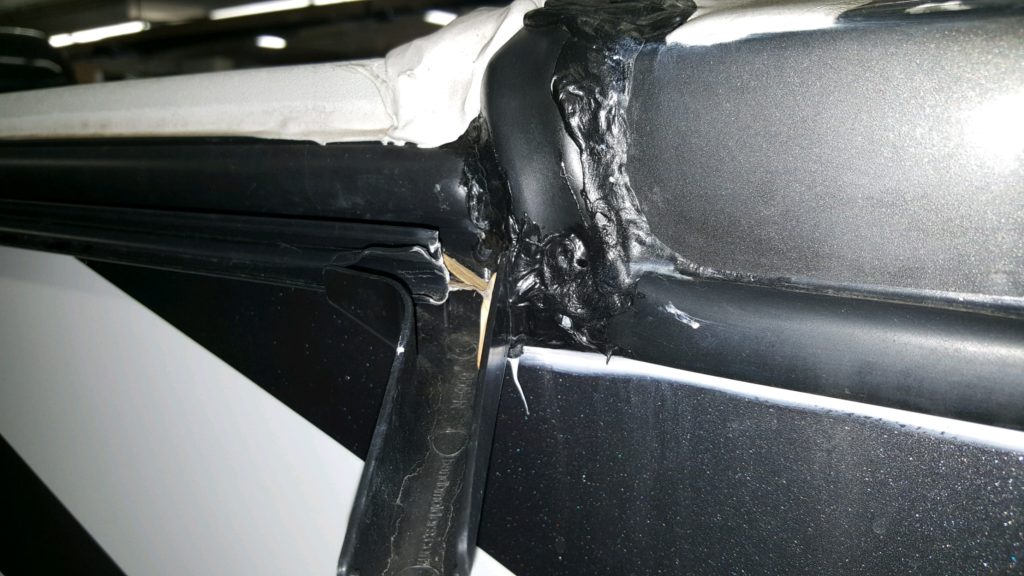
There are a couple of products that you will likely need while you are inspecting the exterior of the RV. 100% silicone should be used on the sides of the RV. The other product is roof caulk, also available at any RV dealer on the roof. <link to amazon>
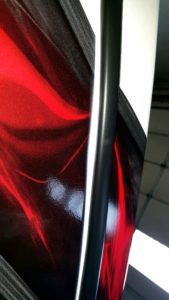
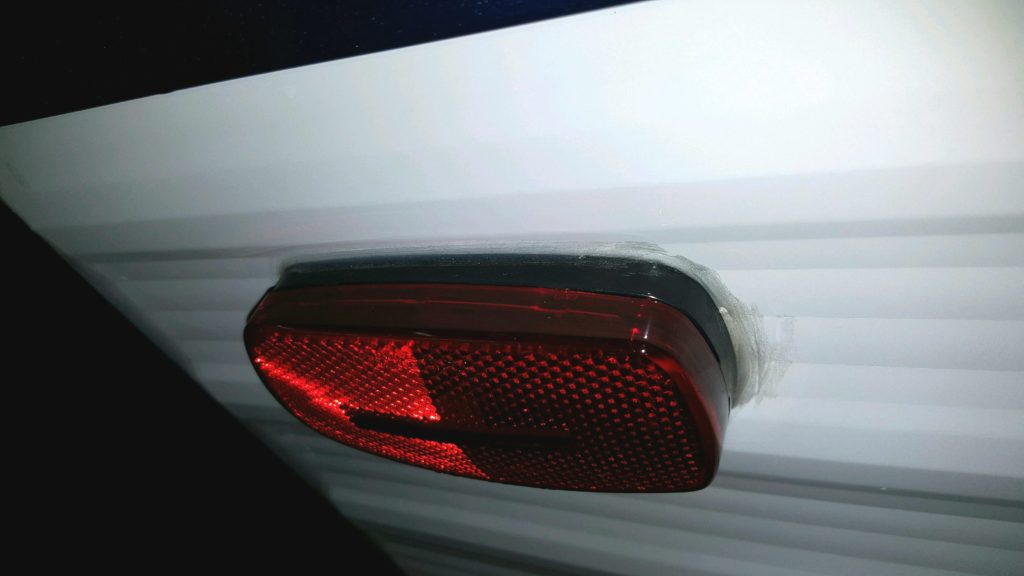
- Start in one corner of your camper inspect the silicone on the corners.
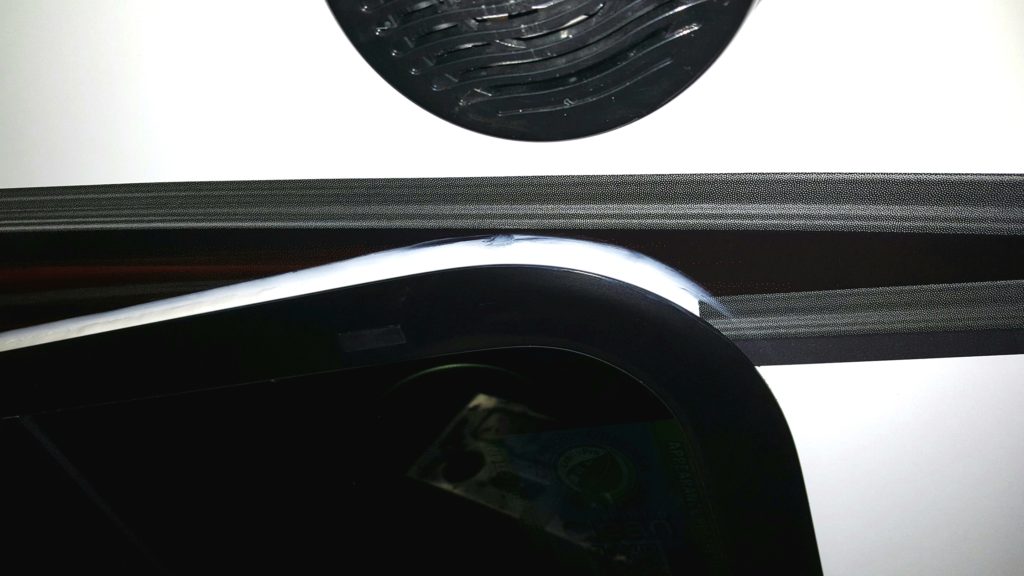
- Inspect the silicone on top of the windows and around every protrusion down the side of your camper.
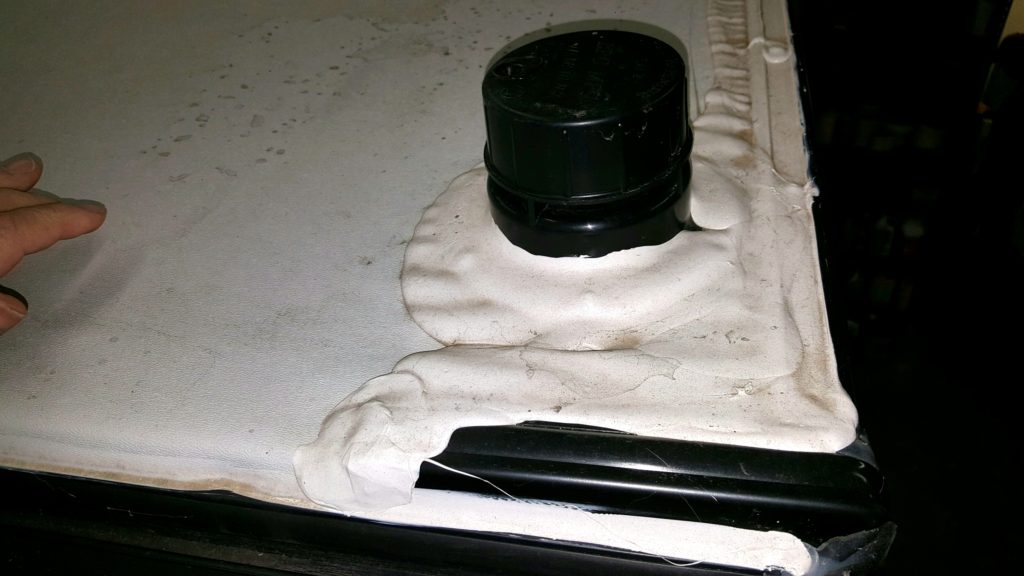
- With a ladder, inspect your roof. Be sure to check around the protrusions on your roof paying particularly close attention to the front and back ends where the rubber meets the metal.
- Pay extra special attention to the corners of your roof. This is where the majority of roof leaks come from.
- Inspect all the way around your camper, tip to tail. Reseal any areas that look suspicious.
- Run your side room in and out inspecting the rubber wiper seals and bubble gaskets. Hopefully before you put your camper away for the winter you looked at your slide room roof to make sure there was no debris on there. Inspect all the rubber to be sure that the rubber seals are all intact and in working order.
- Please lube your door locks and handles. Use WD-40 or any kind of lubricant you like. Spray it in the locks and work the mechanism, this will make your locks and latches work much smoother throughout the summer.
- I also recommend you lube your stabilizer jacks and tongue latch using the same spray lube. These all may have become corroded or sticky while in storage.
Areas to check silicone:
Areas to check on the roof:
Underneath
As with the rest of the camper, start on one end of the camper and check everything under your camper.
- Begin by running your stabilizer jacks up and down especially if you have manual stabilizer jacks. After you lube them they should go nice and smooth. It really sucks when you get to the campground and are having difficulty with sticky jacks in front of your new neighbors.
- While under the camper, take a look to see if any damage occurred that you weren’t aware of last summer or while in storage.
- This is also good time to take a look at your tires.
- Another thing I do while under my camper is bring a tube of black silicone and fill any hole bigger than the width of a pencil with silicone. I do this in an attempt to keep mice out of my camper. If you are having mice issues I recommend you do the same.
Hopefully everything goes smoothly for you and nothing bad happened over the long winter. Now that you have taken your RV out of storage, and inspected everything tip to tail, you are ready to de-winterize your camper (run the antifreeze out of your water lines).
Happy camping!


20 Comments
Janine
A great, practical list! Thanks for sharing!
Rosemary
I don’t own an RV yet, but want to one day. This is good info. Pinned! Thanks!
Julie
I always wanted to be an RV’er but there is way more to it than I ever imagined!
Hollysbirdnest
Finally..its time to get ready to do some Rving thank for always having great info!
Tricia Snow
You always give the best tips! There is a lot to think of when getting the RV ready after it has been sitting!
Kim
It looks similar to taking care of a car but a much bigger job!! Lol
Tiffany
Looks like a lot of work but also looks worth it in the end! Can’t wait to share this with my RV friends!
Susan
We have an RV pad at our house… but no RV. *cry* One day…
Do you keep yours at your house or in storage during the winter?
Nicki
We don’t have room to store it at our house so we send it away for the winter. 🙁
Leigh Ann
Sharing with my parents for their RV!
Anna
I am sure this is a very exciting season for RV travel. We should definitely do that sometime soon with my hubby and our dogs. Can not wait to experience this. Maybe, later on, we will decide to buy an RV. So these are really great tips. Thank you
jen
As always, thought out, easy to understand.
Ramae Hamrin
Still dreaming on owning an RV. Your site has so much good information!
Cindy
A very thorough, detailed list! This post makes me hopeful spring is near.
Alexandra
You really provided a thorough and well layer out post! It looks and sounds so professional! I don’t RV or camp but I enjoyed reading it!
Susan Franklin
As always, you provide great tips on what to do if you own an RV. You are a great resource!
Pauline
This is fantastic. A bit of a chore but worth the time. I also check for mice too.
Jennifer Morrison
This is such an extensive list. I am so impressed with RV owners who take care of their investment in this way.
Dennis
Great ideas! Travel months will be here soon!
T.M. Brown
My goodness! You are thorough!! I LOVE how you think. You really give the rundown here and I think it’s great that you’re providing such tremendous information to help others out in the RV world.