Make Sure your Black/Sewer Tank Actually Empties
Nobody wants to deal with a black/sewer tank. Even me. What’s worse is dealing with a clogged tank or a sewer backup into your camper. Maintaining a black tank is not difficult. You just need to follow some simple steps.
Honestly, the main problem that I have seen with black/sewer tanks is that people don’t use enough water. If there is not enough water in the black tank when you go to empty it there will not be enough force to get the solid waste out of the tank. Simple as that.
Here are some other tips:
Only use RV toilet paper!
Never use Cottonelle, Charmin, etc. Even the one-ply, cheap toilet paper is not a good idea. The cotton content is so great that it will stick to everything, including your monitoring system and sewer tank sides. I realize RV toilet paper is not the greatest. It is thin, scratchy, and expensive but it is absolutely necessary.
Along these same lines:
- No wet wipes.
- No feminine products.
- No diapers.
- No rice (yup, I’ve seen it).
Use Chemical!
There are lots of different chemical brands on the market. Use one! If odors develop while flushing, you can add more chemical. More chemical will NOT hurt your tank.
I recommend a couple gallons of water plus some chemical poured down your toilet into your sewer/black tank before you use your toilet at the start of the year. Just plan to always keep a couple of gallons of fluid and some chemical in your sewer tank all season long. This fluid will slosh around while you are traveling and it will help to break up the “ick” in your sewer tank and make it easier to empty later.
Emptying your tank at the dump station:
Before you empty your black tank, add some extra water by filling your toilet and then letting it flush down. Do this a few times so you have enough water to create “the wave” and remove the solids from your sewer tank.

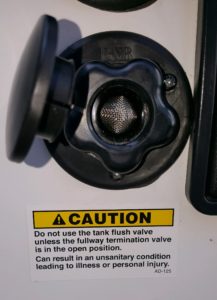
Next, remove your sewer cap (see above). Often there is a little “juice” behind this cap. I recommend wearing gloves. If there is a lot of “juice” behind the sewer cap one of your valves may not be closing properly and may need to be replaced. Next, attach your sewer hose and put the other end down the dump station. You may want to put a weight of some sort on the lose end of the hose as it may try to move when you open the valve and the fluids start to rush out. Usually I just have my wife put a foot on it.
Now, OPEN THE BLACK TANK VALVE FIRST! Just your black tank valve. Not the grey tank, yet. If you open all of the valves at once, solid waste and toilet paper can get up into the grey tank pipe and clog your grey tank valve making it so it won’t shut. Some valves are easy to see handles and some are cables that are tucked under the camper or in a compartment. The valves should be labeled. When you first pull the valve, liquid will come out very fast. Then it will slow down and look more like sludge (hopefully you will never actually see this).

The above photo shows cable gate valves (grey, black, galley).
If your camper is equipped with a “black tank flush”, now is the time you would use that. The black tank flush is an input port on the side of the camper that you attach a garden hose to (it does have have a back flow devise so it is safe to use with a clean hose). ONLY ADD WATER TO THE BLACK TANK FLUSH WHEN VALVE IS OPEN AND SEWER CAP IS OFF! You can easily overflow your toilet or split your tank. The black tank flush is used only to rinse your tank. It does not have the pressure to knock a “cake” or layer loose from the bottom of your tank.

If your camper is not equipped with the black tank flush, you can achieve the same result by pouring water down your toilet with a 5 gallon bucket. This method will help knock anything loose that is stuck to the bottom of your sewer tank. It will also help to rinse out anything stuck in your sewer hose.
After flushing the tank, close the black valve. Now, you can open your grey/galley valves. They will also help rinse out anything stuck in your sewer hose. I also like to use garden hose at the dump station when it is available to rinse out my sewer hose.
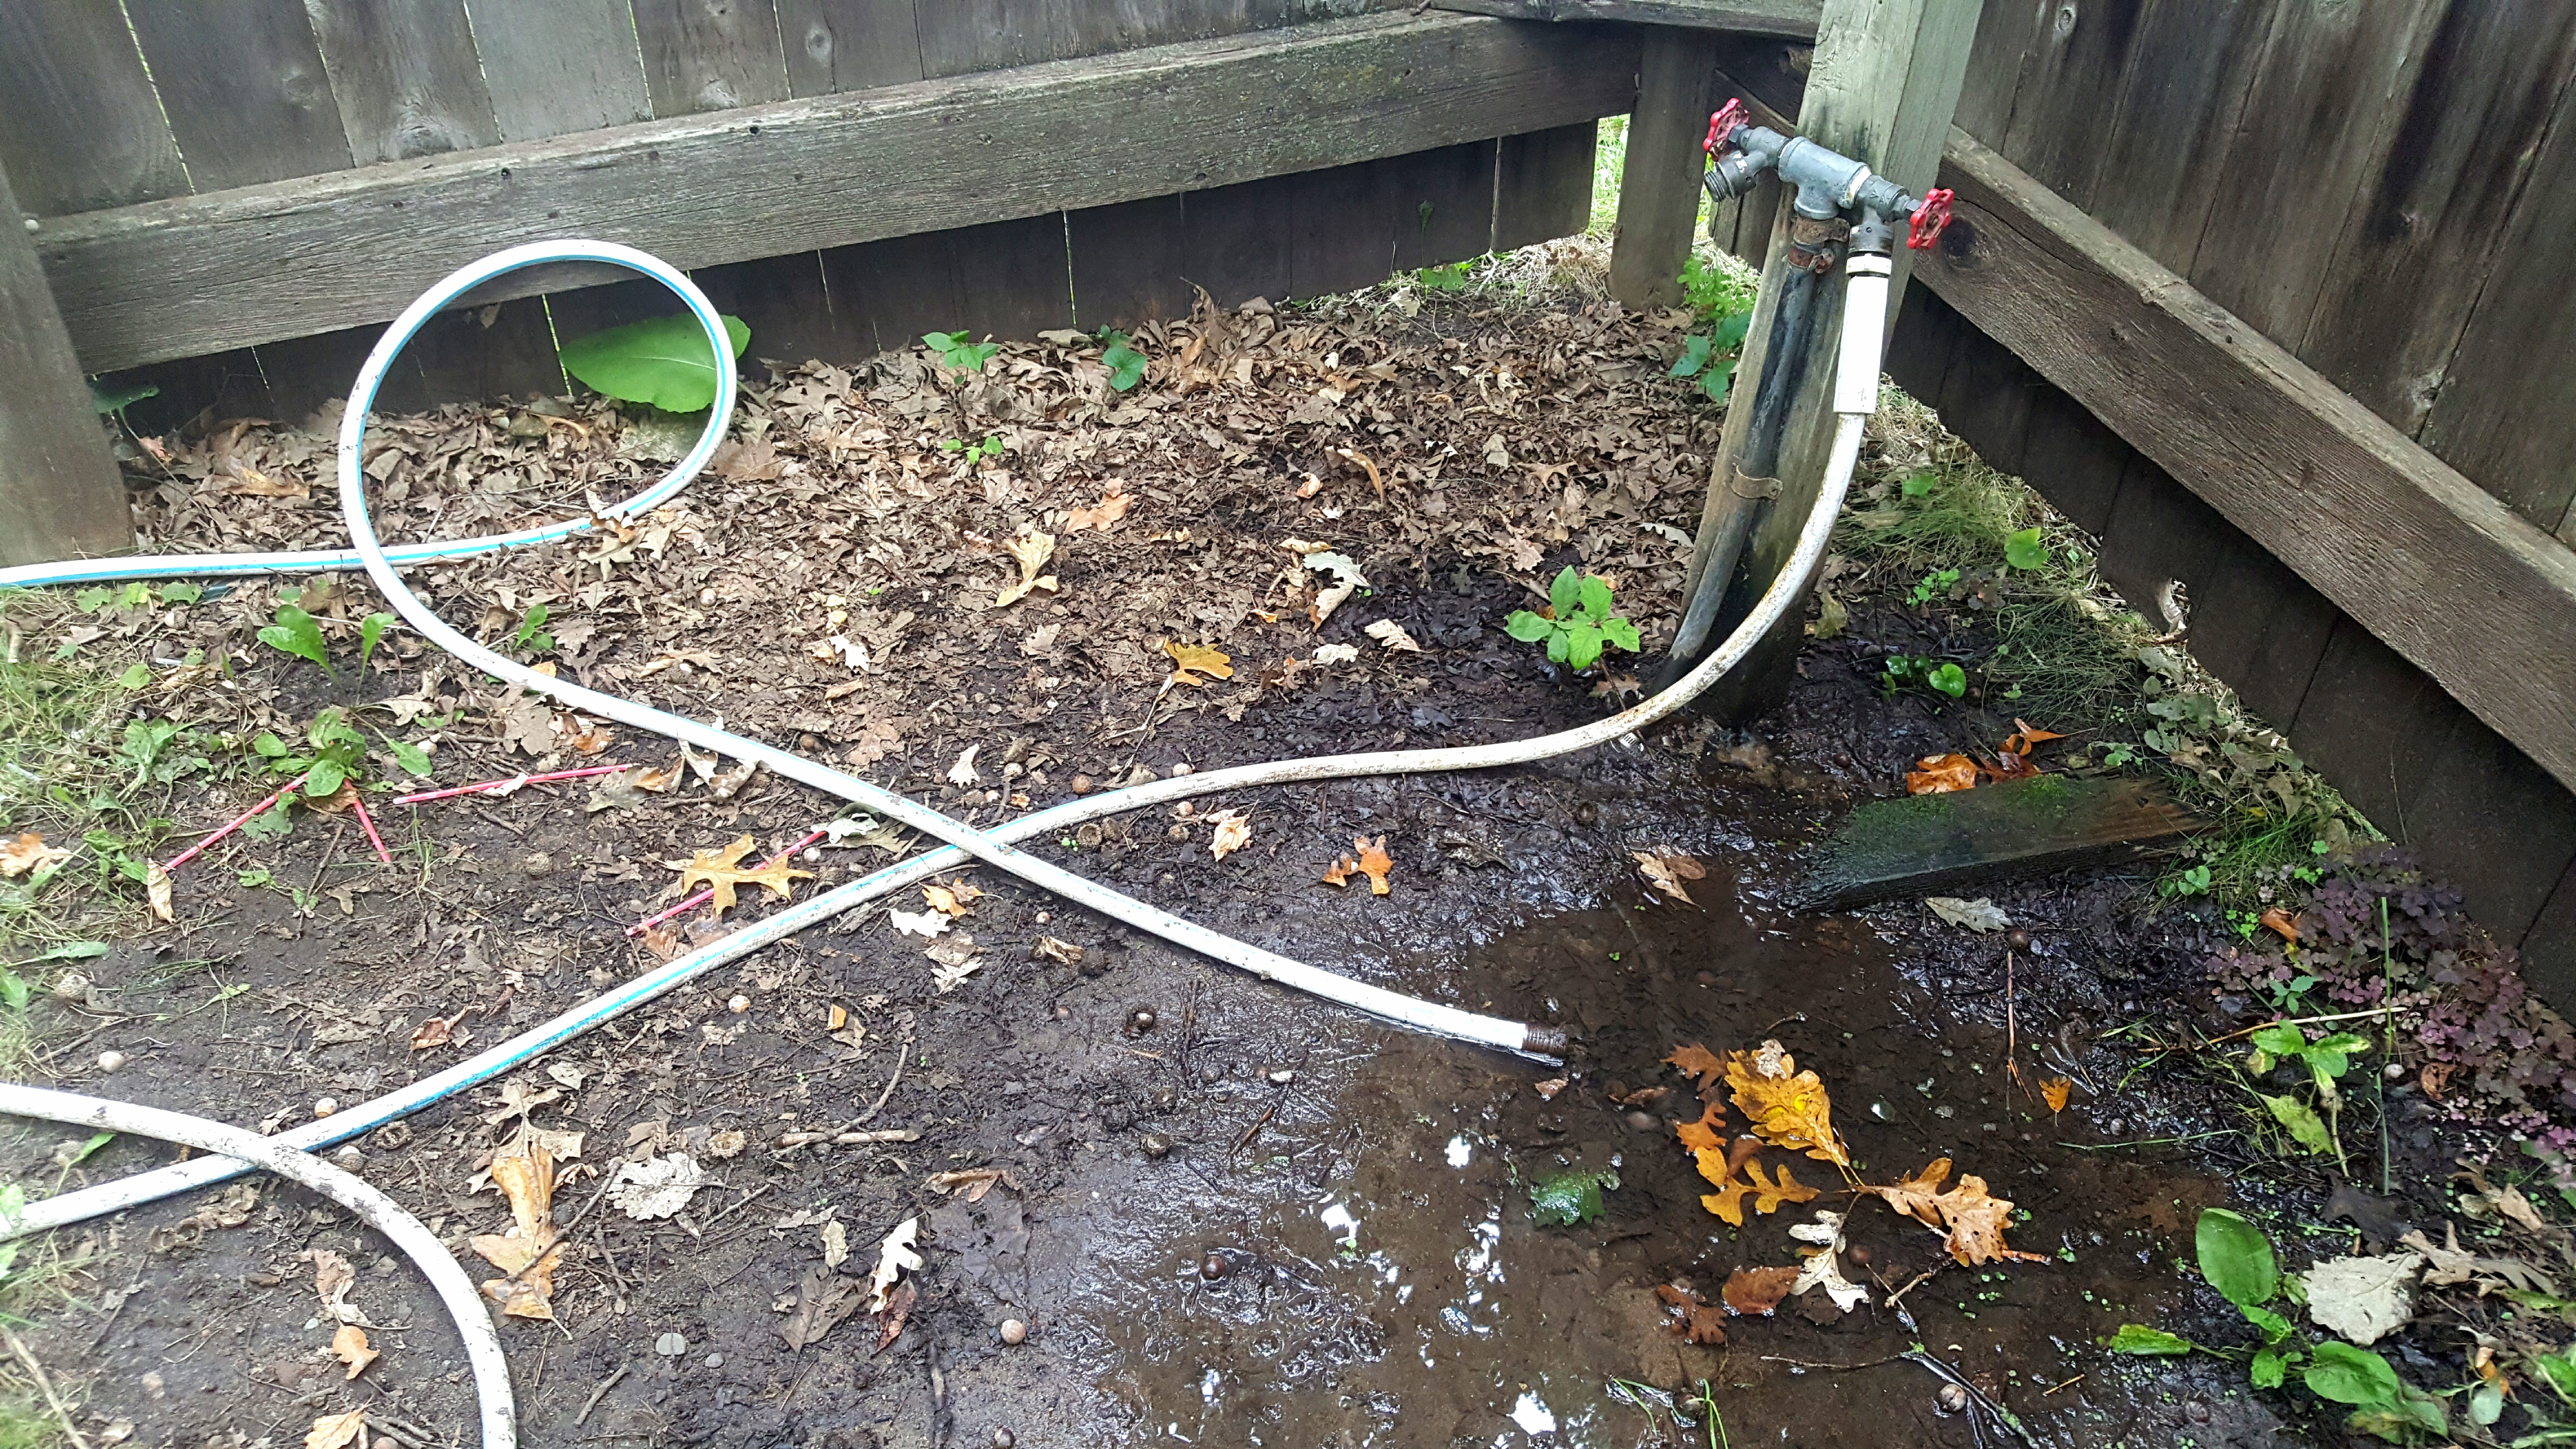
Important note! NEVER attach the garden hose at the dump station to your fresh water input! Some people put this hose in icky places (another good reason to wear gloves).
Some campers, mainly larger ones with two bathrooms, have two sewer connections. Remember to empty both if necessary.
When your tanks are empty, (the hose will be light again) shut the grey/galley valves and reinstall the sewer cap. Now, add 2-3 gallons of water down your toilet and add some chemical. Again, this will slosh around while you are driving and loosen up anything stuck in your sewer tank.
If you have a sewer connection at your campsite:
Attach your sewer hose just as you would at the dump station. There are some fancy accessories for this but we can discuss that later. If you have two sewer connections you may need a Y-connection. You can leave your grey/galley tank valve open while you are camping. KEEP YOUR BLACK TANK VALVE CLOSED. If you leave your black tank valve open, the fluid will drain out and the solid will sit there. You now have an outhouse in your camper. Ick! Then, a couple of days before you leave, close your grey tank valve. This will allow enough water to build up to help rinse your hose when you leave. Then, follow the same instructions as above to empty your black tank.
Note: you don’t always have to empty your black tank. The chemical in your tank and the sloshing while driving will work to break down the solids. However, if you aren’t going to be using your camper for a week or more I would empty it.
Happy camping!!


29 Comments
Holly Bird
These are great tips! Sometimes when people buy an RV they really do not understand the importance of properly emptying the tanks! This is not something they mention when you are buying…Your blog is the go to blog for all this info! They should hand out your site with each purchase of a RV!
Nicki
Thanks Holly!!!
Molly Callister
Whenever I think about emptying an RV sewer I think of the movie Christmas Vacation when Cousin Eddie is in the middle of suburbia emptying his RV sewer into a storm drain haha! So glad you are educating people to NOT do that 😉
Nicki
Lol. Gross!
Brittany
Awesome info! I love how detailed you’ve made it. 🙂
Nikki
Hey it’s a dirty job but someone has to do it! Just like everything there is always a job/chore that is not fun. But thanks for the steps and of course the dos and donts.
katie
This sounds like my nightmare! I had no idea RV’s have their own toilet paper and you can’t sub others. Good thing I’m doing my research still and haven’t bought one yet!
Katie Mitchell
Emptying the tanks on an RV is hands-down one of the worst parts of owning one ha. I’m so happy the campground we are staying at now has sewer hookups so we don’t have to go to the dump station!
Nicki
Agreed. I didn’t realize until my husband wrote this article though that you should leave your black tank valve closed even when hooked up to sewer though. Makes sense when you think about it though.
Leah Mullins
These are really helpful tips, all in one place and easy to find. Thank you so much for this post!
Shelly Bergman
SO GLAD I let my husband take care of this!
Nicki
LOL.
Junell DuBois
Great tips! This will be great for someone new with an RV
Jocelyn
I just keep picturing the scene from Christmas Vacation when he empties the RV tank into the sewer out front of the house haha!
Angela Greven
Great tips for the RVing community, I remember when we had a rig and first had to visit the dump station. Could have put these tips to good use for sure! 🙂
Tonya | the Writer Mom
Huh. I never realized there was special RV toilet paper!
Kristen
Great tips, I never would have thought of some of these things.
Lauri
This is such great advice! My husband was such a stickler about these kind of details, but it sure paid off. Thanks for sharing!
Tricia Snow
Having an RV this is a great article, but …… RICE??? Lol I believe it but geez!
Nicki
Lol. It’s AMAZING some of the stories he comes home with.
Michele Vadnais
Ewwww! This will definitely be the hubs’ job when we take the plunge (pun intended!)!
Laura
Such helpful tips! Thanks!!!
Rosanna
Thanks for the info on something necessary, but unpleasant too.
Monica
I never even thought about this and it’s really great to know. I’m not sure if it’s more money than regular toilet paper, but imagine it would be worth it as far as maintenance is concerned.
Mary
You have so many helpful hints for RV owners. I’m learning so much and I will be well-prepared when I get mine!
T.M. Brown
Wow – down to the nitty gritty and dirty! Obviously stuff not everyone thinks about ~ though I will admit that my boys have asked questions about how those in RVs clean their toilets. Now I can share the info with them ~ lol. Once again, you always have the best information for RV owners.
Dennis
Great and important information to have.
Kirsten
Well done! Very informative!
Deb
Love all the articles and they are exactly the info my husband and I needed to answer a few questions! Thank you for sharing your knowledge and getting us out camping again!
Bret & Deb Haugen